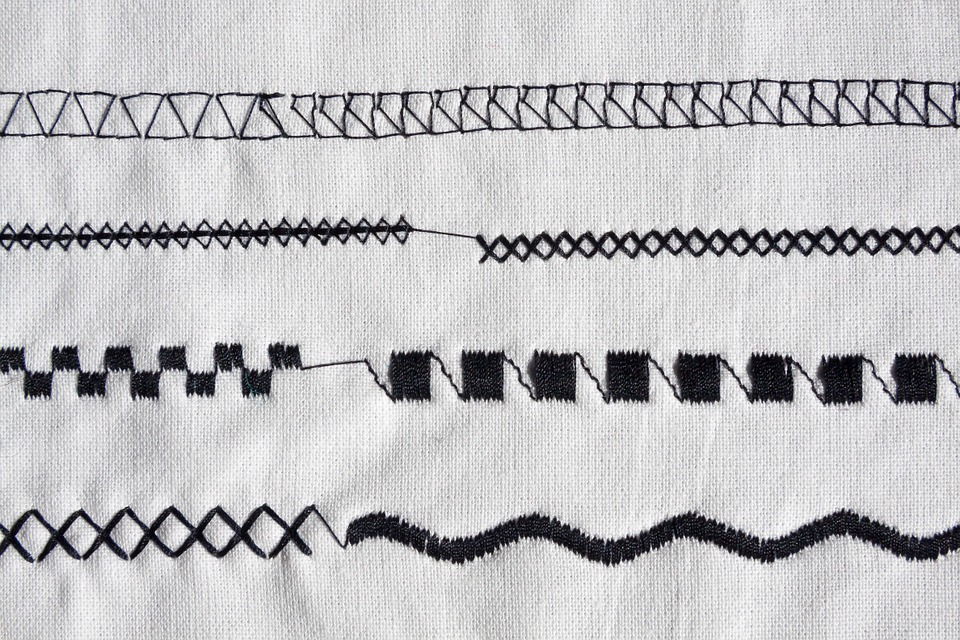
Whether you’re looking for the punk rock aesthetic embroidered patches or maybe you just want something cute and easy out of a Hallmark catalog, here are few easy steps to designing your own custom embroidery patches. For this exercise, you will need:
- A pair of scissors
- An embroidery hoop
- A ballpoint pen
- An embroidery needle
- Canvas or any other stiff fabric suitable for patches.
- Colored embroidery floss
The steps to designing your own embroidery patches
Step 1
Using a pair of scissors, cut out a square piece of canvas or fabric. From here, use your ballpoint pen to sketch your design onto the piece of canvas. Insert the piece of cut canvas in between the rings of your embroidery hoop. Take care to ensure that the canvas is pulled taut (this will make sewing your designs easier later on) and let the excess canvas hang loose.

Step 2
Now, cut a length of colored embroidery floss and thread it through the eye of your needle. While doing this make sure your embroidery floss is extra long so that you don’t run out of floss halfway through. After threading your needle, tie a knot near the eye of the needle so that the floss doesn’t run lose. Then, tie another knot at the end of the floss so that it doesn’t run through the canvas.
Step 3
Start by pushing your needle through the canvas from
the back side to the front side (the front side being the area where you drew your outline). After pulling your needle through the canvas, repeat the steps again just in reverse i.e. the front side to the backside. Your outline will act as a guide for your stitching, however, be careful not to run too wide of the outline lest your stitches look messy.
Step 4
Continue until you have completely covered the outline with stitching. After you have completed stitching, tie a knot on the underside of the canvas and the balance of the floss with your scissors. Repeat the steps above using floss of different colors to flesh out your design.

Step 5
Congratulations, you now have a complete embroidery patch on your hands. These patches can be sewn onto jackets or backpacks for added style or just give out to friends and relatives as custom tailored gifts.
Remember that embroidery is a skill that rewards patience and persistence. Don’t give up just yet if your first patch didn’t turn out the right way. An eye for detail and plenty of practice will have you embroidering patches like a professional in no time.

